

Are you exploring containerization for the first time and eager to comprehend how it works and a guide to your first steps on containerizing your application? Your best option to consider is Docker. Docker is an open-source platform with robust community support and a vast ecosystem, making it an excellent starting point for your containerization journey. This article aims to guide you through understanding Docker and the process of getting started with containerization using Docker.
Introduction to Docker and Dockerfile
Docker is a robust containerization platform, it empowers developers to package their applications and dependencies within a portable and lightweight container image. These containers can be deployed consistently across diverse environments, facilitating smooth scalability and deployment.
Unlike virtual machines that require separate instances and resource allocation for each application, Docker containers efficiently share the resources of their host machine. This enables multiple applications to be spun up as container instances on the same host machine, optimizing resource utilization and promoting a more streamlined and resource-efficient environment.
A Dockerfile serves as the blueprint for constructing these containers. Dockerfile is a text file with a set of instructions for building a docker image. It specifies how docker builds your application. The Docker image serves as a blueprint for creating containers, making it easier to distribute and deploy applications with all their necessary components.
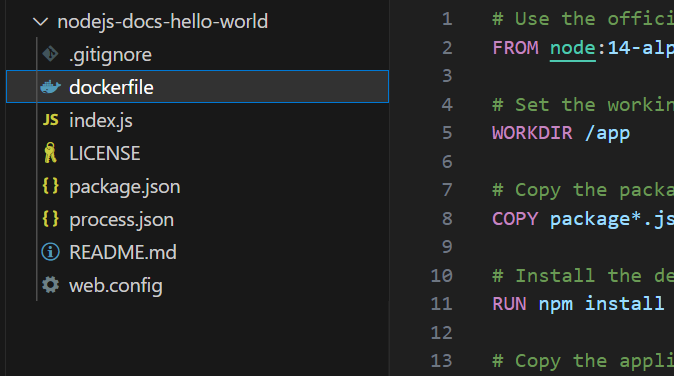
A Dockerfile should be placed at the root of your project as shown below using a Node.Js Application:
Dockerfile Syntax and Structure
The Dockerfile has a straightforward syntax, consisting of a series of instructions that define how the Docker image should be constructed. Each instruction is executed in order, creating a new layer on top of the previous one. This layer-based approach ensures that only the changes in each step are stored, making the images efficient and shareable.
A basic Dockerfile typically starts with a FROM instruction, specifying the base image to use. Subsequent instructions include WORKDIR to set the working directory, COPY to add files to the image, RUN to execute commands during the build process, ENV to set environment variables, and CMD to define the default command to run when a container is started.
Here are the commonly used docker commands you should be familiar with :
FROM – specifies the base image for your application.
A base image in Docker refers to the starting point for creating a Docker container. It serves as the foundation on which you build your application and includes the necessary operating system, libraries, and other dependencies required to run your application.
Base images are typically provided by the Docker community and official organizations, and they are hosted on Docker Hub, a public registry for Docker images. To find base images for your Docker projects, visit the Docker Hub website and search for images related to the technologies or programming language you’re using. For instance, if you’re working with Node.js, you can search for the official Node.js base image. Similarly, you can find base images for Python, Java, Ruby, and many other popular languages and frameworks.
Below is an example of a FROM command, to use the official Node.js image from the Alpine project as the base image. Alpine Linux is much smaller than most distribution base images and uses the format node:<version>-alpine
FROM <base image tag>
#where <base image tag> is the tag for the base image
#Exmple -- FROM node:14-alpine
WORKDIR – This is used to set the working directory in the container.
The working directory is the directory path within the container where any command, script, or file operation will be executed by default. The WORKDIR instruction also serves other file operational purposes, this includes:
- Setting the working directory helps organize the filesystem within the container. It ensures that all subsequent commands and file operations are relative to the specified directory
- The WORKDIR instruction ensures that you have a consistent context for executing commands and managing files. When copying files or running commands inside the container, using relative paths can be error-prone if the working directory is not explicitly defined.
An example of a WORKDIR command syntax is:
WORKDIR <path>
# where <path> is replaced with the folder path
#example -- WORKDIR /app
COPY – Copy the application source code to the container
The COPY instruction is used to copy files or directories from the host system (your local machine) into the Docker image being built. This allows you to include your application code, configuration files, and other required assets within the image.
The syntax for COPY instruction is as follows:
COPY <source> <destination>
# <source> is the path to copy from and <destination> is the path to copy to
RUN – Executes a command during the build process
The RUN instruction is used to execute commands during the build process of a Docker image. It allows you to perform various tasks, such as installing dependencies, updating configurations, downloading and setting up the environment within the image
The syntax for RUN instruction is as follows:
RUN <command>
# example to install requirement.txt for a Python app
# RUN pip install --no-cache-dir -r /requirements.txt
EXPOSE – Specifies the port for the Application to listen to
The EXPOSE instruction in a Dockerfile is used to inform Docker that the container, which will be created from the image, will listen on the specified network ports at runtime. However, it’s essential to note that the EXPOSE instruction alone does not actually publish the specified ports to the host machine. To do that, you need to use the -p option when running the docker run command to explicitly bind container ports to corresponding host ports.
Here is the EXPOSE syntax :
EXPOSE <port>
#example EXPOSE 3000
CMD – Specifies the Default Command for the container
CMD instruction is used to specify the default command to be executed when a container is running. This differs from the RUN instruction. While RUN is used during the Docker image build to modify the image’s file system and configure it properly, the CMD instruction defines the default command to run when the container is started.
CMD ["executable", "param1", "param2", ...]
#Example - CMD ["npm", "start"]
ENV – Defines Environment variables inside the container
Additionally the ENV, most times optional but can be very needful to define environment variables. Environment variables are key-value pairs that provide a way to configure the runtime environment of applications running inside the container.
The syntax of the ENV command is as follows:
ENV <key>=<value>Here, <key> represents the name of the environment variable, and <value> represents the value associated with that variable. It is important to note, that there should be no space around the “=” sign.
Adding Comments to Dockerfile
To add comments, simply begin a line with the # character, and your comment will be ignored during the build process.
Comments in a Dockerfile play a crucial role in documenting your instructions and providing clarity to other users who may interact with your Dockerfile.
#this is a comment and will be ignoredBuilding a Docker Image using Dockerfile: Step-by-Step
To create docker containers, you write a set of instructions for a textfile, that follows a particular format. This file with a set of instructions is known as a Dockerfile and can be placed at the root of your application. These instructions are built to produce an image. A running instance of an image is known as a container.
Dockerfile instructions are not case-sensitive, however, it follows a convention to use Uppercase for the docker commands and lowercase for values. The Dockerfile is executed sequentially, starting from the top and progressing downwards. During execution, each instruction is compared against cached layers to identify changes. In a case where changes are identified, instructions and subsequent instructions are processed as new container images. Consequently, it’s important to note that the order of Instruction in a docker file is insignificant
Prerequisites
To proceed with writing your first Dockerfile, you have the following requirements:
- A Text Editor: You can use any text editor you prefer, such as Visual Studio Code, Sublime Text, or Notepad++.
- A working application you intend to containerize. It’s important to have a knowledge of your application dependencies
- In a case where you need to build and run this container on your local machine, you must ensure Docker is installed on your machine. You can confirm this by running
docker versionon your CLI. Otherwise, navigate to Docker Docs for instructions on how to install Docker. - Alternatively, you can use any Docker Hosted environment such as Azure Container instances (ACI), or Amazon Elastic Container Services (ECS).
Containerizing a NodeJS Application using Docker
This demo explores how to containerize a simple app, using Dockerfile to build a container image and push this image to Docker Hub.
For this demo, ensure the following are in place:
- Git Installed
- Code editor ( VS Code is used here)
- Docker Installed
- Docker Hub Account
Once you can confirm the above, proceed with the instructions below:
- Open the Terminal on VS Code ( or any editor of choice) and run the command to clone below a sample application:
git clone <https://github.com/Azure-Samples/nodejs-docs-hello-world.git>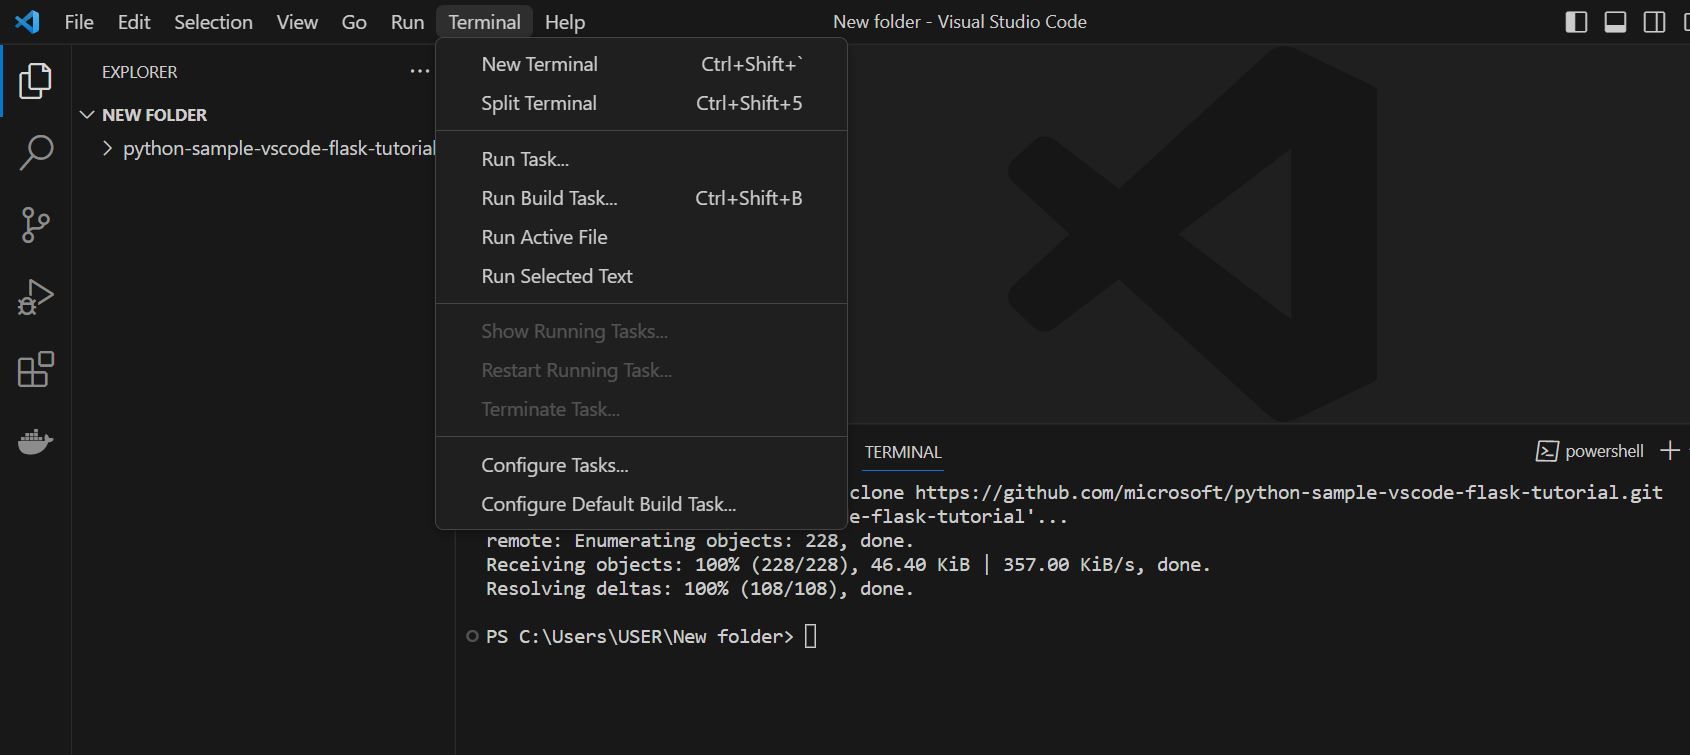
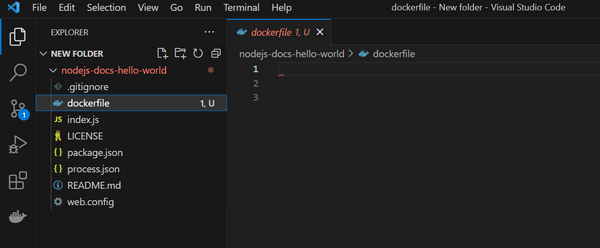
- Change the directory in the terminal to your project and create a file called dockerfile with no file extension using the commands below:`
#change Directorycd nodejs-docs-hello-world/#create a dockerfilecat > dockerfileNow, you should see a dockerfile at the root of your project :
- The first step to writing your dockerfile is to find a base image for your project. This is relative to your project requirements. For this demo ( NodeJs simple Hello World Project), A Linux NodeJS image will be used. Alpine Linux is much smaller than most distribution base images and uses the format – node:<version>-alpine (Ref: https://hub.docker.com/_/node). As shown below –
# Use the official Node.js image as the base image
FROM node:18-alpine- Set the working directory for your image as shown below
# Create a working directory in the container
WORKDIR /app- For a NodeJs Application, package.json, and package-lock.json files are necessary, copy this to the container.
# Copy all the packages.json files to the container
COPY package*.json ./-
- Now you can visualize a Linux box with Node installed and all the package.json and package-lock.json files inside. You will need to install dependencies on the box using the RUN command below:
# Install the dependencies
RUN npm install- Copy your source file to the box using the copy command, from the current location which is the root folder to the image root as shown below:
# Copy the application source code to the container
COPY . .- Expose the application to a port:
# Expose a port for the application
EXPOSE 3000- Run the application using the RUN command:
# Define the command to run the application
CMD ["node", "index.js"]
Now your dockerfile should look the same as this below:
# Use the official Node.js image as the base image
FROM node:18-alpine
# Create a working directory in the container
WORKDIR /app
# Copy the package.json and package-lock.json files to the container
COPY package*.json ./
# Install the dependencies
RUN npm install
# Copy the application source code to the container
COPY . .
# Expose a port for the application
EXPOSE 3000
# Define the command to run the application
CMD ["node", "index.js"]
Build the image and upload it to Docker Hub
- Open the terminal on your code editor, and navigate to the root of your project, where the dockerfile is located:
cd .\\nodejs-docs-hello-world\\- Ensure Docker is running, and run the command to build the image. Replace <username> will your dockerhub username and <appname> with any name of choice
docker build . -t <username>/<appname>- Once the build is complete, you will find your container details when you run the command
docker ps. Run your container using the command below:
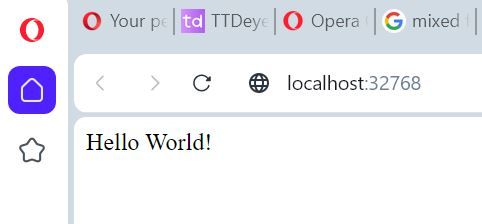
docker run -p 32768:3000 -d <your-docker-hub-username>/<your-app-name>Replace <your-docker-hub-username> with your username for dockerhub and <your-app-name> with any name of choice. Where 32768 is any random port assigned by you, this port is assigned to your host (your computer) and 3000 is the port your image is listening to
- Once your application is listening to a port, navigate to your browser and enter http://localhost:32769
- To push the built image to Docker Hub, you’ll need to log in to Docker Hub from the terminal using the command:
docker login- Enter your login credentials and run the command to push your image to your docker hub repository:
docker push <your-docker-hub-username>/<your-app-name>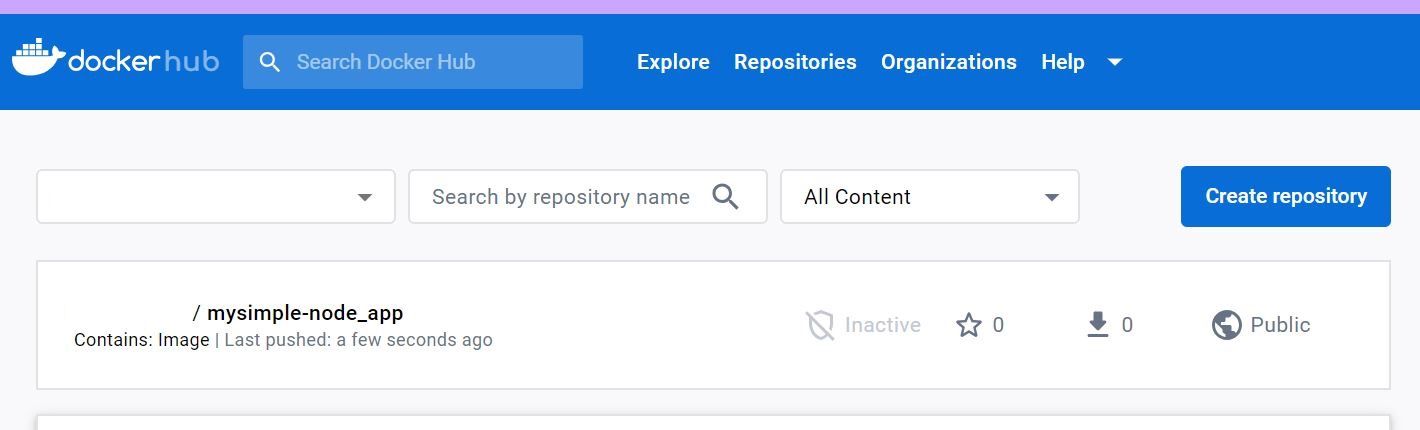
Conclusion
As containerization continues to gain popularity, mastering Dockerfile creation becomes an essential skill for modern developers and system administrators. Docker’s simplicity and flexibility make it an indispensable tool for enhancing the development, deployment, and scaling processes.
By leveraging the insights gained from this guide, readers can confidently adopt containerization practices, simplifying application management and fostering a more agile and efficient development ecosystem. Embrace Docker, write your first Dockerfile, and unlock the boundless possibilities of containerization for your projects.
Discover more from Parveen Singh
Subscribe to get the latest posts sent to your email.


