Deploying Next.JS App on Azure App Service
This is the fifth article in the "Getting Started with Azure App Service" Series where I publish in-depth tutorial and walkthrough on using Azure App Service and best practices every week. Last week, we talked about how you can Setup Custom Domain for Azure App Service.
I've been playing with React and some of it's popular web frameworks for some time to understand the capabilities and features it provides to run modern web applications. I stumbled upon Next.JS after researching and testing a demo application for few days and decided to publish it on Azure App Service to test some of its functionality.
I am not a react developer as you can tell by now if you have read my other blogs, but it was super simple and quick to get started with Next.JS official learn module. It took me only 3-4 hours to create an application that communicates with Cosmos DB to pull data out and display it on the homepage. (More on this in upcoming blogs -Work in Progress 😉 )
Unfortunately, things didn't go as planned and I spent an entire day trying to figure out the issue with the application after it was deployed on App Service. I started receiving an error "You do not have permission to view this directory or page". It turned out to be a trivial yet complicated issue with some missing files and undefined Node version on App Service resource. I decided to give an overview and share with you the solution on how you can run your Next.JS application in Azure.
What is Next.JS?
As per Next.js official website: Next.js gives you the best developer experience with all the features you need for production: hybrid static & server rendering, TypeScript support, smart bundling, route pre-fetching, and more. No config needed.
If you are here for a solution on the error, I'd assume you already know a little bit or something about Next.JS. If you want to learn Next.js from basics, use this link and get started:
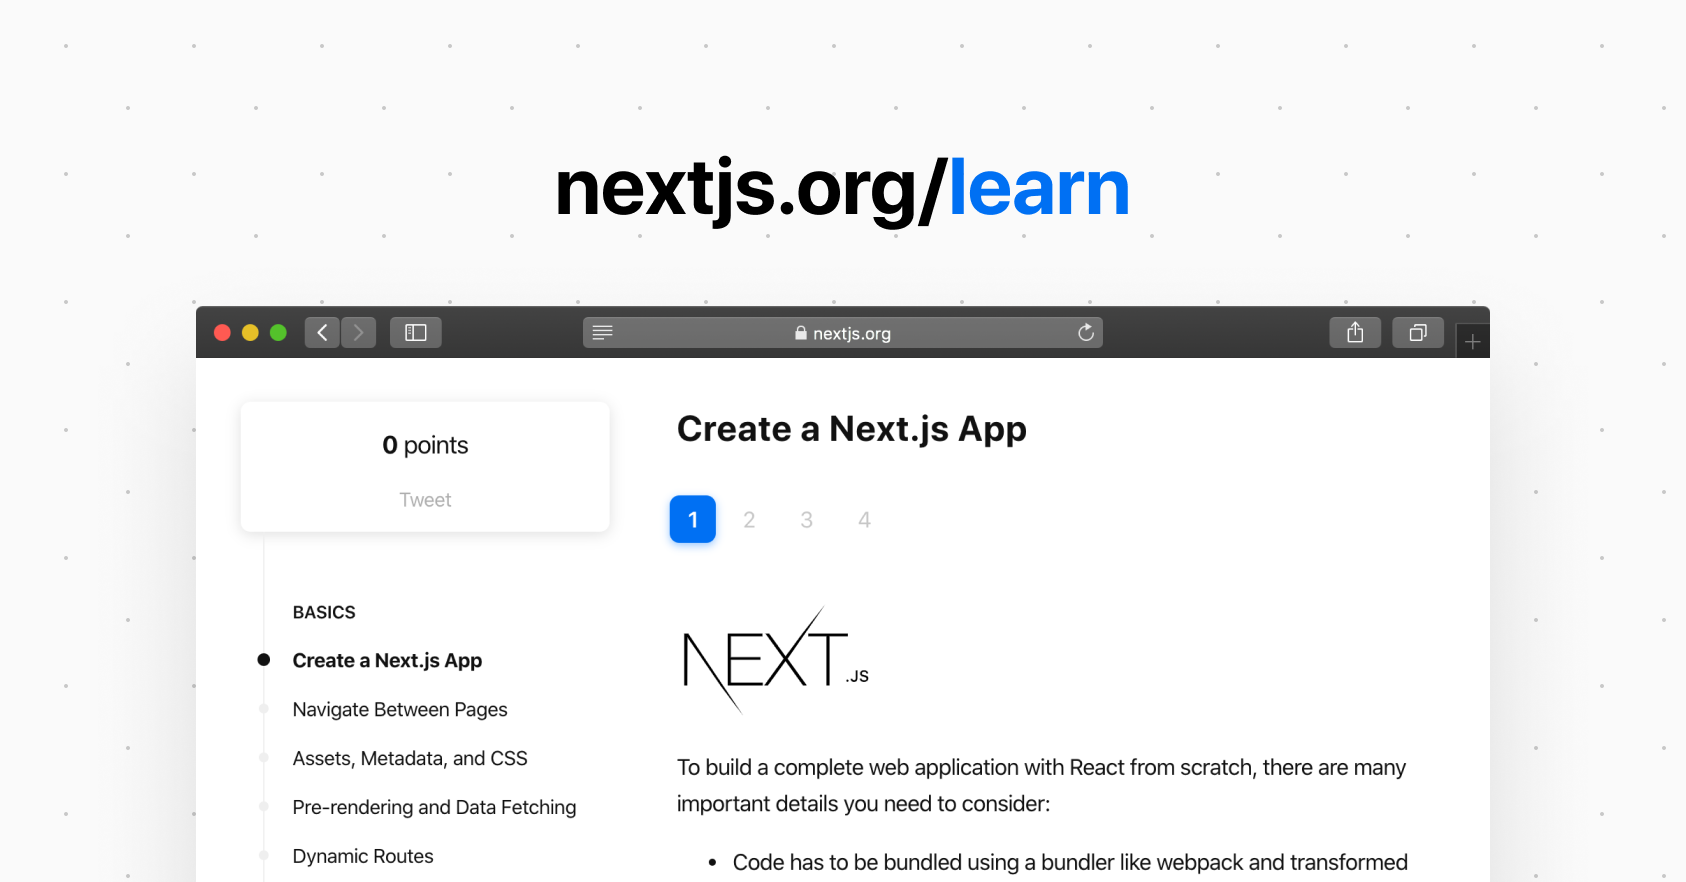
Next.JS Learn
What is Azure App Service?
Azure App Service is a PaaS offering by Microsoft that hosts your web service for you in a dedicated and secure host with fully automated scaling and monitoring features.
If you need more insights or you are looking to learn more about App Service, please check out my App Service Series where I am covering App Service features and exploring new capabilities every week.
Azure App Service - Parveen Singh
Let's Talk About the Real Issue!
I tried to deploy Next.JS code on my Azure App Service which of course didn't go well in the first run. Apparently, everybody is talking about running Next.js as Static Web App using GitHub Repo. Where did Azure DevOps (ADO) go?
I store all my code in ADO, so I needed some way to deploy the code using the ADO Pipeline and release it instead of storing everything in GitHub now. Looked at GitHub Issues and TechNet blogs under the App Service tag but I couldn't find one single fix that would patch all the errors.
Here's the very first issue that I encountered once the deployment completed with out-of-box source code. You can expect to see a 5xx error depending on your code and the directory setup.
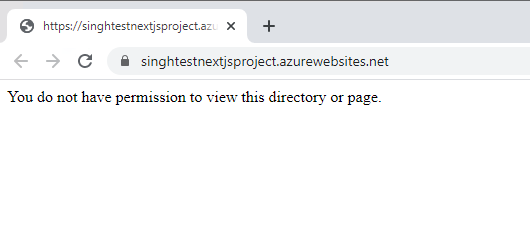
Error while deploying Next.JS App on Azure
I checked my log streams on app service and saw the following detailed error.
Server Error from App Diagnostic Logs
As you can tell this is trying to list the content of the web server but the server is not configured. Running NodeJS on IIS requires you to have a web.config and server.js file that can tell the IIS server where to look for files and what port to listen on.
If you encounter any 5xx error, the issue is likely to be the same but your PORT defined in the server.js might be incorrect. Follow through the end to fix the issue and make sure you have all the necessary files in your code to deploy the app.
Prepare Your Code for Azure App Service
Before you start with the setup, make sure the following requirements are met in your environment.
- All the deployments are done in Azure App Service - Windows OS Only.
- I won't be covering how NextJS works, rather fix the error that you will face if you deploy the code without including the necessary set of files to Azure App Service.
Installing NodeJS
The first step toward creating a Next.JS app is to download and install Node.js. Navigate to the official Node website to grab the latest package and install it on your machine.
Setting up a Sample Repo
If you are setting up a new project, you can follow along in creating a brand new project using a starter template. Run the following command in terminal to create a new project from scratch using next.js template. Source Code is also available at This GitHub Repo.
Creating Sample Next.JS Project
This sets up your sample code that you will be using to deploy a POC application to validate and fix the permission issue. If you were to deploy your code directly to App Service at this point, you'd get the same permission issue that I described in the previous section.
Adding Web.config File
As I mentioned earlier, IIS server needs a config file that can run other necessary files to kickstart the deployment for Node application. Make sure web.config and server.js files are in the root of the directory for the webserver to trigger them during the deployment.
singhparveen/NextJS-AzureAppService
I've uploaded the sample project that I'm using at my GitHub repo or alternatively you can copy the code below:
Web.Config File Content
Adding Server.js File
Adding Server.js or App.js is a crucial step in case of an IIS server. This ensures that the server can handle the incoming requests and you don't end up seeing any 5xx error. Use the same GitHub repo mentioned above to grab the source code for server.js file or copy the same code below:
Server.JS File Content
Updating Node Version on App Service
Check your Node version that's running on your local computer where you built the application. Use the following code snippet in your terminal window to confirm the node version installed on your local development environment.
Checking Local Node Version
Before setting a value for your node version on app service, check the supported version that your App Service Server is running by navigation to the following URL while logged in to Azure. Replace the webappname with your app service name. If your version isn't listed in the support version list, choose one that is close.
Web Address to Check App Service Plan Supported Node Version
Next step is to confirm if your app service is running the same or close to what version you have in dev environment. You will need to navigate to Azure Portal and check "Configuration" under your app service overview.
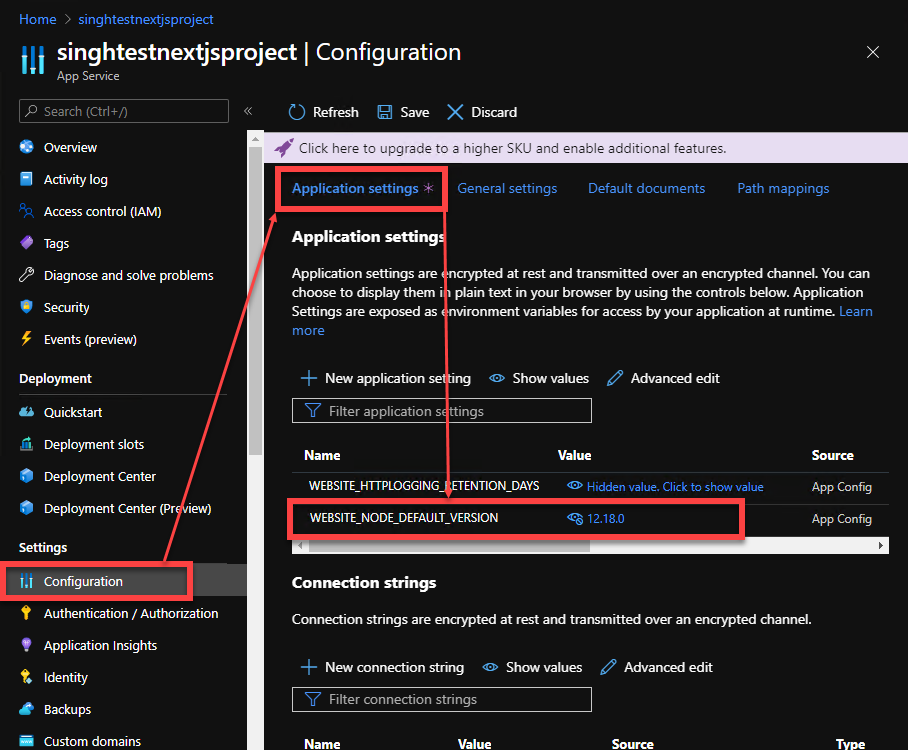
Adding Default Node Version for App Service
If you don't see any entry for Node version, Create a new application string using the following name WEBSITE_NODE_DEFAULT_VERSION with the value of version supported by your app service plan that is close to your development version.
Building the Code Before Deployment
Before you push your code to the app service, Next.JS application needs to be build beforehand so that it can generate .next folder in the root directory after packaging the code.
Open your terminal and run the following command to build your application. This will take a few seconds and your code will be ready for production.
Building Code for Production
Results of build command should look something like this:
Sample Output of Build Process
Publishing Code Directly to Azure App Service
At this point, your code is ready to deploy in Azure. If you already have an app service plan and app service running in your environment, feel free to skip the first step.
If you don't have any app service resource already, You can either create one using Azure Portal or follow the steps on creating one right within the VS Code environment. Make sure you have "Azure App Service" extension installed already.
Creating App Service using VS Code
Open your VS Code session and click on the Azure icon from the left panel. Make sure you have opened your project folder in VS Code as shown on the left side of the image below.
Right-click on your target Subscription and choose "Create New Web App (Advanced)"
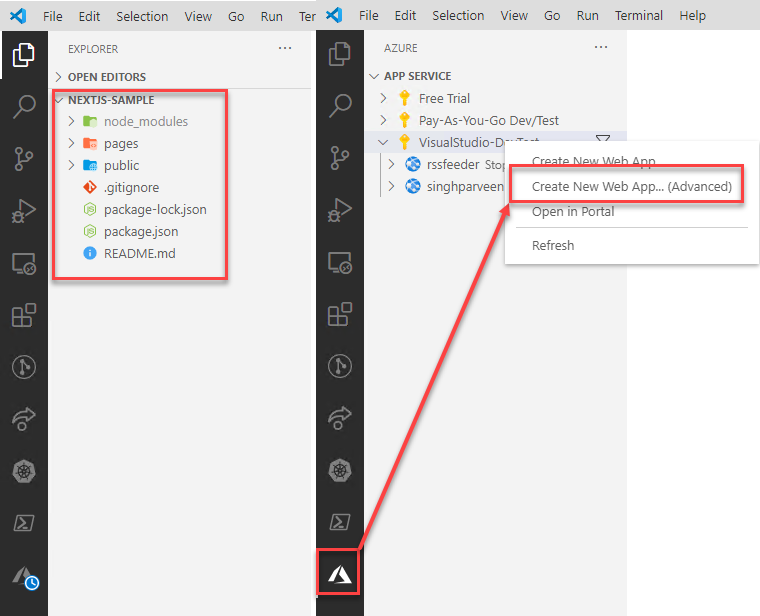
Creating New App Service using VS Code
Fill out the following information as you are prompted.
Information to Complete New App Service Resource Creation
Deploying Application using VS Code
As the app service creation is finished, you will see a prompt confirming the deployment.
Click Deploy to publish your code to Azure.
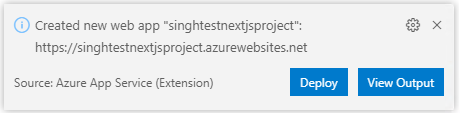
Popup to Deploy Code to Newly Created App Service
If you don't see any prompt, simply right click on the app service name and choose Deploy to Web App.
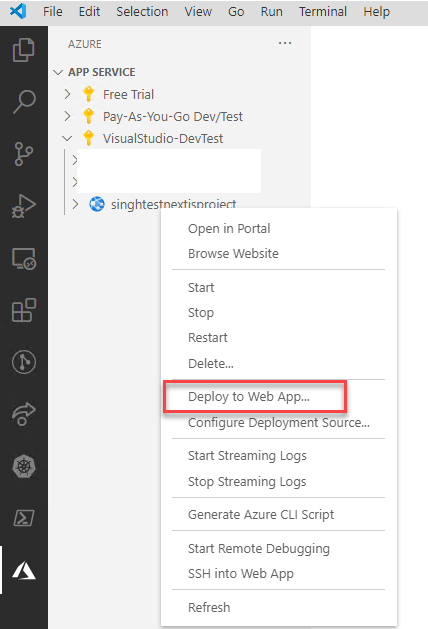
Manual Deployment to App Service
You will be prompted to choose a folder to deploy, use the folder that contains your source code.
It'll take a minute or two to publish your code and your website will be up and running now.
Deploying Application using Azure DevOps
If you are using Azure DevOps, I've added an azure-pipelines.yml file inside the same GitHub repo that you can use to create a Pipeline in Azure DevOps. You'll need to create a release for your code and target the release to your subscription for a particular app service resource.
Use the following YAML code for your ADO Pipeline or feel free to create a similar one using GUI in ADO.
azure-pipelines.yml file sample
Conclusion
I hope you learn something new and also gained exposure to a web framework that I'm in love with now even though I started using it only a few days ago. I'd suggest making sure you include web.config and server.js files with correct information so that the App Service Plan can interpret and execute the startup for your application.
Please leave a comment below or follow me on Twitter to stay abreast of the latest updates.
If it's your first time here, please check out other articles in the series:
Part 1: Up and Running with Azure App Service
Part 2: Continuous Deployment for Azure App Service
Part 3: Using Deployment Slots with Azure App Service
Part 4: Setup Custom Domain for Azure App Service
Part 5: Deploying Next.JS App on Azure App Service
Part 6: Next.JS App with Cosmos DB on Azure App Service
Part 7: Why Should You Use Azure App Service?
Part 8: Easy Auth for Azure App Service
Part 9: How To Clone An Azure Web App?